Trekking Pole Length Adjustment: How to Set Your Poles Using the 90-Degree Elbow Rule
Published: 2026-10-12 | Category: Outdoor How-to | Reading time: 9 min
Executive Summary
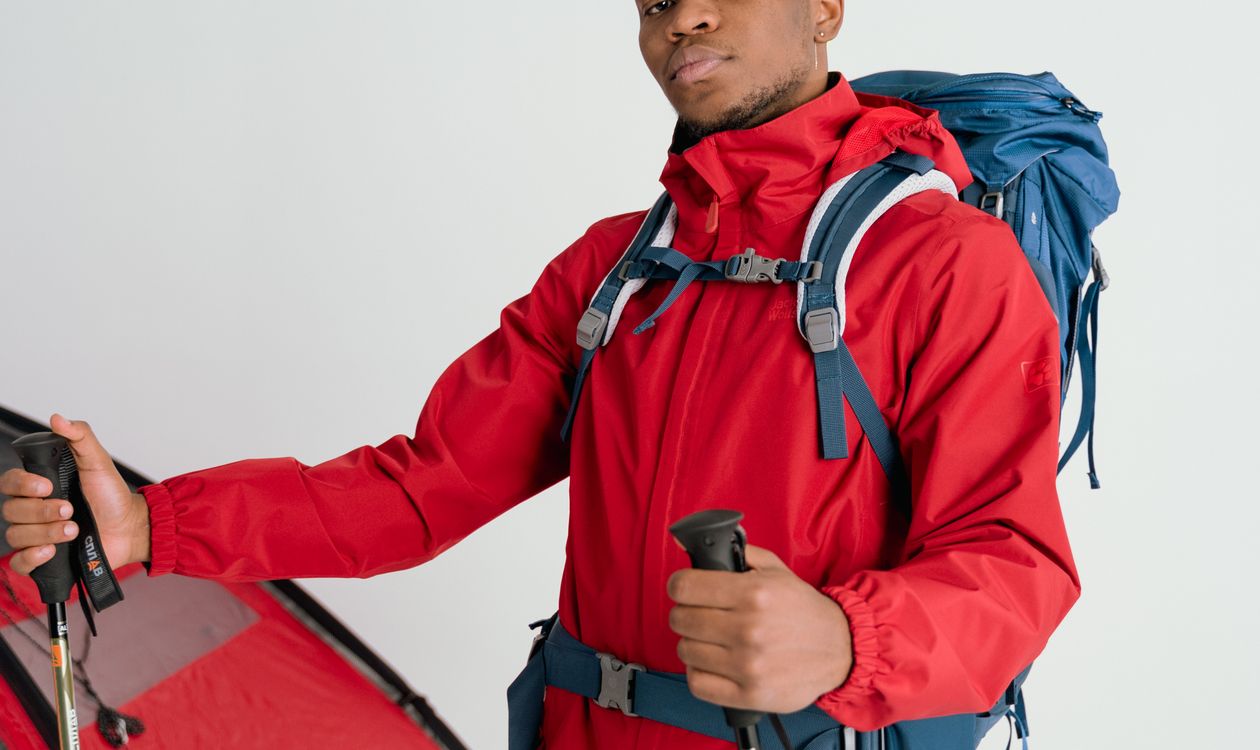
Adjust your trekking poles so that, with the tip planted on the ground beside your foot, your forearm is roughly parallel to the ground and your elbow forms a 90-degree angle. That is the standard starting point recommended by REI, LEKI, and most pole manufacturers, and it is the setting you should use for level terrain and long descents.
From there, the adjustment changes with the ground. Shorten both poles by 5 to 10 cm for sustained climbs to gain leverage and keep your shoulders from being shoved upward into your pack straps. Lengthen them by the same amount on descents so you are not overreaching and your body stays more upright. The 90-degree rule is a starting point, not a permanent setting, and experienced users routinely run several centimeters shorter than the rule suggests in order to transfer more weight onto the poles and off their knees.
Why a Few Centimetres Changes the Whole Day
Poles that are too long force you to push downward and slightly backward with each plant, which lifts your shoulders and can drive the top of your pack straps into your upper back. Poles that are too short leave you leaning forward at the waist, loading your lower back and reducing the amount of weight you can push down into the ground.
REI puts it plainly in its buying guidance: your shoulders should never feel as if they are being pushed up into your backpack straps. If that happens on a climb, the poles are too long and need to come down further. The right length converts upper-body effort into forward propulsion and absorbs the repeated impact of downhill steps before that impact reaches your knees.
The 90-Degree Elbow Rule, Step by Step
Stand upright on flat ground with both feet together and your pack on. Hold one pole with the tip resting on the ground next to your foot. Adjust the length until your forearm is horizontal and the angle inside your elbow is 90 degrees. Check the second pole and match it. That is your flat-ground setting.
Two details are commonly missed. First, the tip belongs on the ground beside your foot, not out in front of it, and not leaning away from your body. Second, the fit depends on how you hold the grip: if your hand sits deep with the strap closed around the back of your hand, the effective length changes compared with a fingertip-light grip. Set the length with the strap position you will actually use on the trail.
Once set, confirm with the wrist strap rather than your grip strength. Push through the strap so it sits across the palm just above the base of your thumb, and let the strap take the load instead of squeezing the handle. LEKI frames this as the practical test: if your forearm begins to ache within the first hour, the length is wrong.
Why 90 Degrees Is the Starting Point and Not the Rule
The 90-degree rule has a weakness that experienced long-distance hikers point out: it deliberately sits at a comfortable mid-length, which means it does not maximise the leverage available to you. Shorter poles give a steeper angle between the shaft and the ground and let you push more weight down into the trail with each stroke.
Long-distance users on specialist forums frequently recommend starting several centimeters below the rule, roughly at navel height, on the grounds that this takes noticeably more load off the knees and feet. That is a real effect and it is worth testing, but it comes with a cost: shorter poles require more arm movement and more arm fatigue over a long day, and they place more stress on the wrists and shoulders.
The practical approach is to treat 90 degrees as your baseline, hike a full day on it, and only then experiment with running 2 to 5 cm shorter. If your arms start aching before your knees, the experiment has gone too far. If your knees are the first thing to complain after a long descent, you have room to go shorter.
Adjusting for Uphill Terrain
On sustained climbs, shorten both poles by 5 to 10 cm from your flat-ground setting. The steeper the slope, the more you shorten. Shortening steepens the angle between the shaft and the ground, so a larger share of your push goes into the trail rather than into pushing yourself forward, and it stops you overreaching on the plant.
On traversing sections where the trail cuts across the slope, you can shorten the uphill pole and lengthen the downhill pole at the same time. This keeps your body square to the contour line rather than leaning into or away from the hill, which reduces the sideways load on your ankles and knees.
Adjusting for Downhill Terrain
On long descents, lengthen both poles by 5 to 10 cm. Longer poles push your torso back toward upright, which is the position that keeps your balance over your feet on a steep grade. Without the extra length, walkers on a descent tend to lean back or sit into the poles, and both patterns load the knees.
There is a second reason to lengthen downhill: plant timing. A longer pole reaches the ground sooner on the following step, so you absorb the impact while it is still coming into your body rather than after your foot has already landed. That is the mechanism behind the phrase “plant early, plant often” that pole instructors use.
A Height-Based Starting Point
If you cannot remember what you set yesterday, height is a reasonable proxy. A widely used conversion is body height in centimetres multiplied by 0.68 to give a starting pole length in centimetres. A published height-to-length table from Montem Outdoor Gear puts a 152 cm hiker at 105 cm of pole, a 173 cm hiker at 120 cm, and a 193 cm hiker at 135 cm, with intermediate values in between.
Treat that table as a starting range and then apply the 90-degree check on the actual pole. A published sizing chart is derived from an average body proportion; your own proportion may differ by several centimetres, and the tolerance marking printed on the shaft tells you the range the manufacturer intends that pole to cover.
Adjusting Across Different Pole Shaft Materials
Adjustment mechanics differ by shaft material in ways that matter in the field. Aluminium shafts, typically 7075 or similar alloys, are more forgiving of a knock and more tolerant of over-tightening than carbon. Carbon fibre shafts are lighter and stiffer, transmit shock noticeably less, and are more sensitive to point loading on side angles.
The practical difference for you: with aluminium poles, tighten the lever to a firm positive setting and expect to check it now and then because the alloy can creep slightly under vibration. With carbon poles, tighten to the point where the lever holds firmly without forcing, and take care never to use the shaft as a leverage point when opening the lever under load.
Comparing the Common Locking Systems
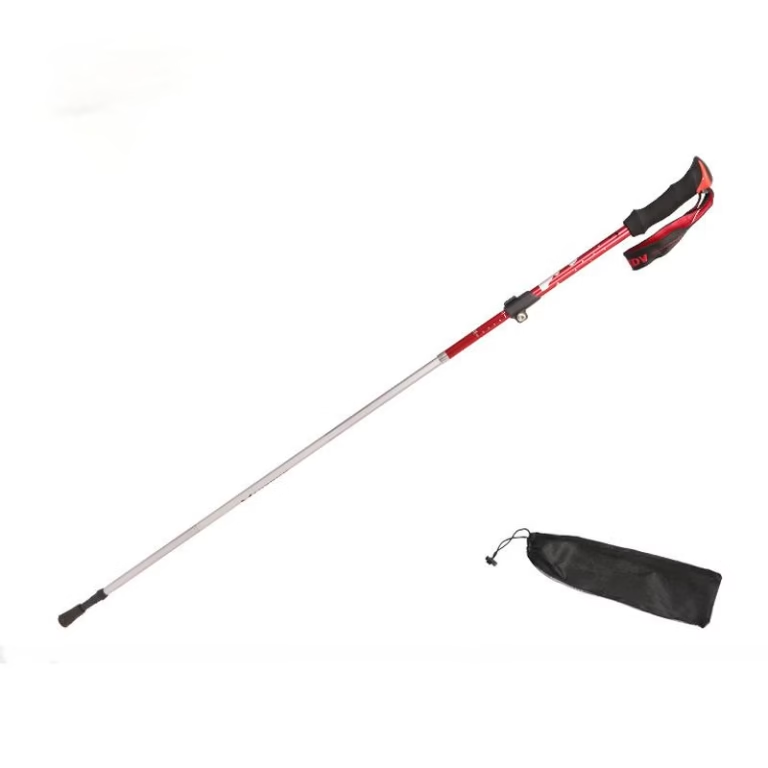
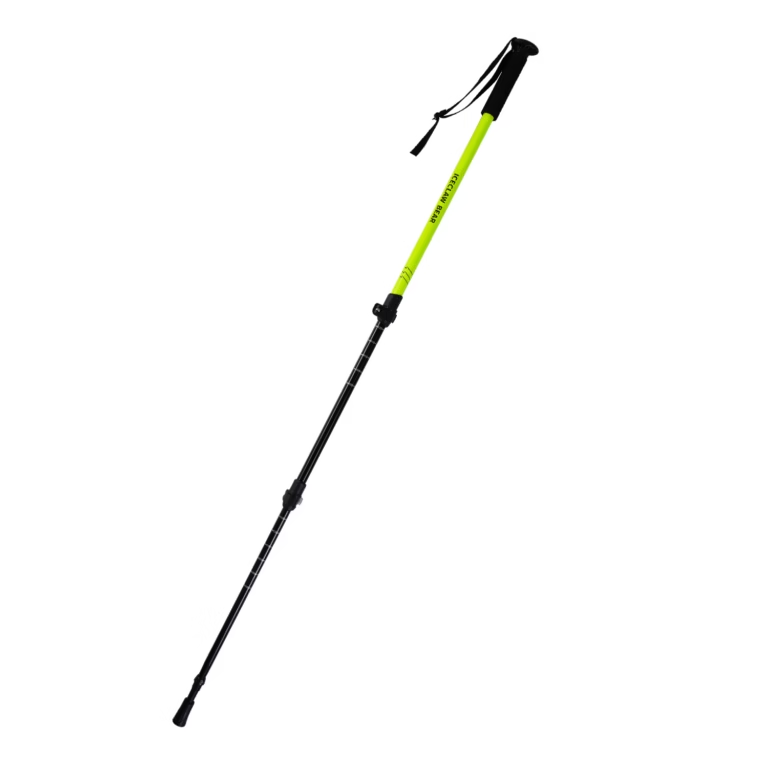
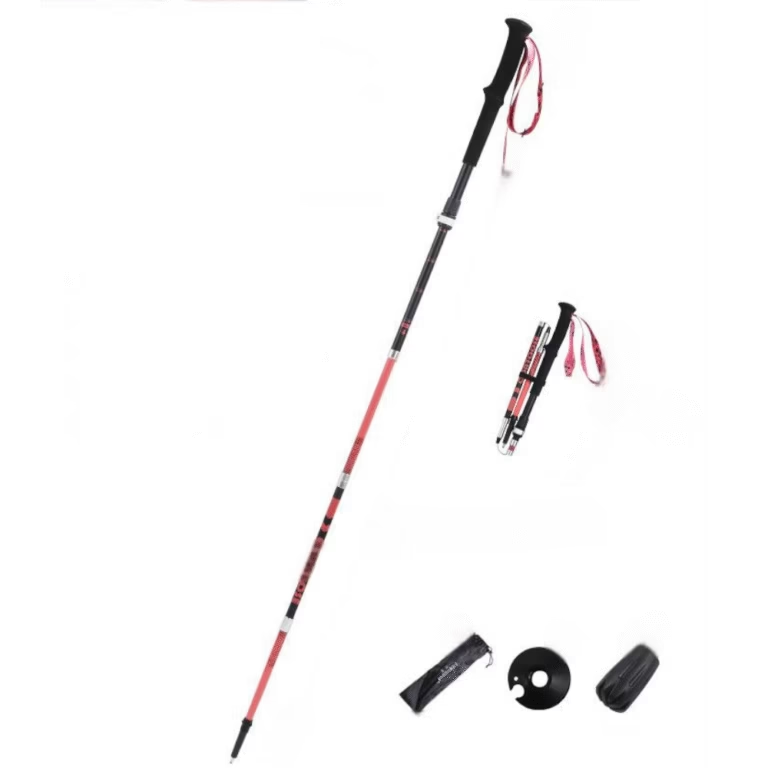
Three locking approaches dominate the retail range. External lever locks use a hinged clamp outside the shaft that you close and then tighten a small nut; they adjust fastest and are the easiest to set while walking, at the cost of snagging on other gear and of collecting mud. Internal twist locks sit inside the joint and are rotated to engage, keeping the mechanism protected from dirt and snagging, at the cost of needing both hands and more fiddly one-handed adjustment. Quick-cord systems use a lever to expose a stranded cable, which allows very fast length changes in any conditions.
For retail buyers and resellers, lock type is one of the most useful features to match to the customer. Users who adjust poles frequently on the move tend to prefer lever locks or quick-cord. Users who walk in mud, sand, or snow, or who stow poles in a car boot or a pack side pocket, tend to prefer internal locks because the mechanism is protected. Both remain widely stocked and both are serviceable when a shaft section is replaced.
| Lock type | Adjustment speed | Protection from dirt and snagging | Best suited to | Main drawback |
|---|---|---|---|---|
| External lever lock | Fastest, one hand | Low, mechanism exposed | Fast adjustments on the move, clean conditions | Snags on other gear, collects mud |
| Internal twist lock | Slower, two hands | High, mechanism enclosed | Mud, sand, snow, car boot or pack side pocket storage | Fiddly to adjust one-handed |
| Quick-cord lever | Very fast, one hand | Medium, cable exposed | Wet weather, repeated length changes in any condition | Strand can stretch or fray over time |
Five Mistakes That Ruin a Long Day
- Not checking the second pole. Poles get adjusted one at a time. A 3 cm mismatch produces a noticeable sway over a long day.
- Leaving a lever not fully closed. An open lever invites the joint to slip while the shaft is carrying load, which can change your length without warning mid-stride.
- Using your grip instead of the strap. Your forearm will fatigue long before the legs do if the strap is not carrying the load.
- Leaving the same length for a whole hike on the trail A single setting across eight hours of mixed terrain is the most common source of wrist and shoulder strain.
- Overtightening a carbon shaft. Forcing the lock past its positive setting stresses the joint rather than securing it.
A Five-Minute Field Check
Before a multi-day trip, spend five minutes with your poles and a tape measure. Extend both poles and confirm the two lengths match. Walk 200 metres on flat ground at a steady pace and note where each hand sits in relation to your hip. Then walk a short steep pitch and check whether your shoulders are being lifted toward your ears. Finally, walk a sustained descent and note whether your knees or your lower back take the hit.
If your shoulders rise on the climb, shorten. If your back aches on the descent, lengthen. If your arms tire before your legs over a full day, go back toward the 90-degree setting rather than continuing to shorten. Each of those three observations is a more reliable indicator than any sizing chart, because it is measured on your own body doing the activity you actually do.
Bottom Line for Hikers and Buyers
Set your poles to 90 degrees at the elbow with the tip beside your foot, shorten 5 to 10 cm for climbs, lengthen 5 to 10 cm for descents, and match both poles exactly. Treat that as your baseline, then run 2 to 5 cm shorter if your knees are what limits you on long downhills. If you are sourcing trekking poles for resale, lever locks suit customers who adjust on the move and internal twist locks suit customers in mud and snow, with the shaft material choice driven more by the target weight class than by the lock itself.
Further Reading & Sources
The sizing rules, adjustment ranges, and lock-type characteristics in this article are drawn from the following publicly available manufacturer and retailer guidance. The links below are the canonical source pages, not syndicated copies.
- REI Co-op Expert Advice — How to Choose Trekking Poles and Hiking Staves
- LEKI USA — How to Use Trekking Poles Correctly
- Black Diamond Equipment — How to Choose the Right Trekking Poles
- Montem Outdoor Gear — Trekking Poles & Walking Poles Height Size Chart
- Backpacking Light Forums — Hiking Pole Length
- MSR Gear Shop — Trekking Pole Basics
About the Author
This guide was prepared by the AnttifySport sourcing team. AnttifySport works with European and North American outdoor brands, outfitters, and rental fleets on backpack, apparel, and accessory procurement from audited Chinese mills. We focus on product-fit verification, order-flow visibility, and pre-shipment inspection rather than commodity resale. Contact our sourcing desk to request a sample pack or arrange a pre-shipment inspection.
Related Products from AnttifySport
Browse the AnttifySport catalog for the outdoor gear categories referenced in this article. All products shown here are part of our wholesale lineup: wholesale pricing, low MOQ, OEM/ODM support, and pre-shipment inspection assistance available. Contact our team for quotes.