How to Adjust a Bike Disc Brake at Home
Published: 2026-10-26 | Category: Outdoor How-to | Reading time: 9 min
Executive Summary
A disc brake that rubs, squeals, or pulls to one side is usually a five-minute fix that most riders never attempt. Rotor rub comes from contamination or a bent rotor, uneven braking comes from pad wear and misaligned calipers, and a spongy lever usually means air in the hydraulic line. This guide walks through diagnosing which fault you actually have, the adjustment steps that fix each one, the bed-in procedure that stops squeal, and the tooling you need. It also covers the point at which a brake is no longer safe to adjust and needs replacement.
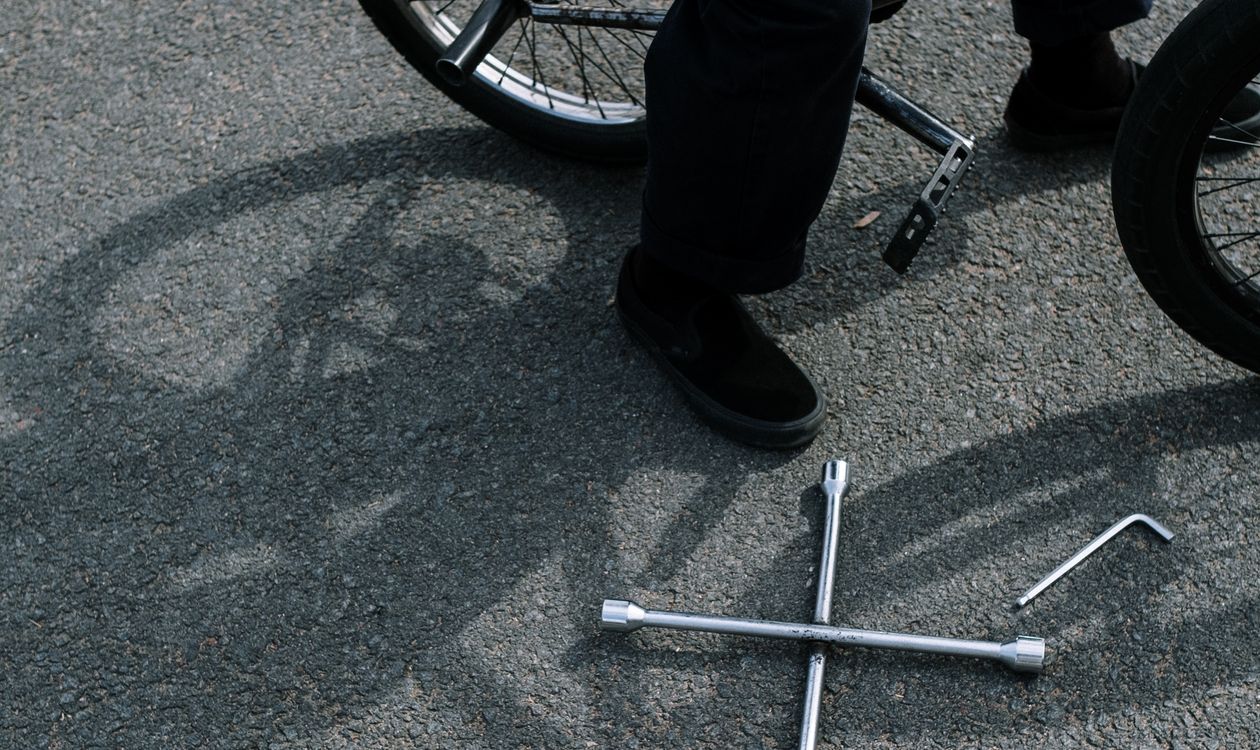
Tooling, Safety, and Where to Source Parts
Disc brake work needs less equipment than most people expect, but two rules apply to every job. First, never work on a brake with the wheel installed if the rotor is out of true, because a warped rotor can snap a wheel. Second, never touch a brake rotor with bare fingers, because skin oils create a contamination layer that sharply reduces stopping power.
| Tool | Purpose | Approximate cost |
|---|---|---|
| T25 and T6 Torx keys | Cylinder bolts, caliper mount bolts, rotor bolts | $5-10 for a set |
| 5 mm hex key | Pad retention pin and barrel adjuster on mechanical calipers | $3-5 |
| Hex key set (metric) | Lever reach, cable anchor, general bike hardware | $10-20 |
| Brake bleed kit or syringe | Removing trapped air from hydraulic lines | $15-35 |
You also need a clean rag, isopropyl alcohol, a bleed catch container, and nitrile gloves. Keep a spare rotor and spare pads on hand if the bike is a model you plan to sell or resell, since contaminated pads are not recoverable by cleaning alone in most cases. Parts come from two routes: the bike manufacturer or a specialist brake component distributor for OEM-matching parts, and a general wholesale supplier for the wider range of workshop accessories.
Diagnose the Symptom Before You Adjust Anything
Most home brake adjustment attempts fail because the rider starts turning bolts without identifying the fault. Four symptoms account for most disc brake complaints, and each points to a different adjustment.
| Symptom | Most likely cause | Where to start |
|---|---|---|
| Rubbing or scraping at low speed | Rotor out of true, or debris in the pad gap | True the rotor, check pad clearance |
| Squeal under heavy braking | Glazed pad surface, or pads not bedded in | Sand the pad face, run the bed-in cycle |
| Lever pulls to one side | Uneven pad wear, or uneven caliper torque | Check pad wear, re-torque evenly |
| Soft or spongy lever feel | Air bubble in the hydraulic line | Bleed the system, check the port seal |
Spin the wheel and watch the gap between rotor and pad. The gap should be even on both sides. Then check the lever travel: roughly 25 to 30 mm of free stroke before the pads contact is normal for a mechanical disc brake, and a hydraulic system should have almost none. If the lever bottoms out against the bar, the pads are worn out.
Step 1: Check Pad Wear and Rotor Condition
Pad wear is the most common reason a disc brake feels worse over time. Most pads carry a wear indicator groove or a moulded line, and the pads should be replaced when they reach that line, not when they stop touching the rotor. Rotor thickness matters just as much: a worn rotor that thins below the minimum thickness marked on the rotor itself can overheat under sustained braking and crack. A rotor with a deep scoring pattern, a crack, or a warped edge cannot be corrected by adjustment.
Inspect the rotor and replace worn pads as a pair
Remove the wheel and the rotor bolts, then lift the rotor off the hub and check it against a flat surface. A rotor that rocks or has a visible wobble when held at the hub is bent. A rotor with a scoring pattern deeper than a hairline needs replacement. Check the printed minimum thickness specification on the rotor and measure with a micrometer if you have one; a rotor that visibly thins toward the braking surface is already past the point of safe use.
Always replace pads on both sides of the same caliper, and never mix pad compounds on one bike. Different compounds have different friction coefficients and wear rates, and a mismatched pair causes the new pad to wear unevenly against a rotor set up for the old compound. If you are sourcing parts for a resale programme, stocking common pad shapes and rotors alongside the bikes themselves avoids a long tail of one-off replacement orders.
Step 2: Fix a Rotor That Rubbs
A rubbing rotor has two separate causes needing different treatment. A bent rotor can be trued. A contaminated rotor cannot be cleaned back to a usable friction level, because the oil soaks into the sintered metal layer of the pad and the rotor at the same time.
True a bent rotor with a truing fork
A rotor truing fork is a simple T-shaped tool that lets you apply pressure at the point of the wobble while the rotor spins on the hub. Rotate the wheel slowly, watch the gap close and open, and apply pressure with the fork at the point where the gap is tightest. Work in small increments and check every quarter turn. If the fork has slipped on the rotor or you have already made a dozen passes, replace the rotor rather than continuing.
Clean contamination with isopropyl alcohol
Spray isopropyl alcohol on a clean lint-free cloth, never directly onto the pad, and wipe both the rotor braking surface and the pad contact face. Isopropyl alcohol evaporates without leaving a residue that would contaminate the pad again. Give the rotor several minutes to dry fully before reassembly. If the brake still rubs after cleaning, the pads have absorbed the oil and must be replaced.
Step 3: Set Pad Clearance and Caliper Alignment
Once the rotor is straight and the pads are clean or new, the caliper needs centring over the rotor. On a mechanical brake this is done with the barrel adjuster and the pad retention pin. On a hydraulic brake the caliper mount bolts do the alignment, and the pads are pushed out by the pistons.
- Loosen the caliper mount bolts just enough to slide the caliper, without removing them fully.
- Squeeze the brake lever hard enough to push the pistons out and hold the pistons in position.
- With the lever held, tighten the caliper mount bolts in a diagonal sequence so the caliper seats evenly.
- Release the lever and spin the wheel. The gap should now be even on both sides of the rotor.
- For a mechanical brake, set the fixed pad gap with the barrel adjuster, typically about 1 mm, then adjust the outboard pad with the retention screw.
- Hold the lever, loosen the pad retention pin, and rotate the pad so it sits parallel to the rotor, then retighten.
Torque the caliper bolts to the manufacturer specification rather than by feel. Most calipers specify between 6 and 10 Nm, and a caliper that is too loose will shift under braking load, which is what causes the pull-to-one-side problem. If your buyers are buying complete bikes for resale, specifying the caliper torque in the service manual you ship with each unit prevents a whole class of warranty returns.
Step 4: Bleed a Hydraulic System With Air in It
A spongy lever that returns slowly to the rest position almost always means air in the system. Air compresses under pressure, so the lever travels further before the pads bite and the pedal feel becomes inconsistent. Bleeding is the only fix, and it is a normal home workshop job.
- Remove the wheel and check that the caliper bleed port is at the highest point of the caliper when the bike is upright.
- Attach the bleed block or syringe to the port and fill the line with the correct fluid for the system.
- Push fluid from the caliper up toward the lever, tapping the hose to dislodge bubbles that cling to the hose wall.
- Open the bleed port and watch for fluid without bubbles, then close it before the fluid level drops.
- Top up at the reservoir, then pump the lever to move the remaining bubbles to the port, repeating until no bubbles appear.
- Check the lever feel. The lever should now stop firmly within a few millimetres of travel.
Use only the fluid specified for the brake system. Dot 4 and mineral oil systems are not interchangeable, and mixing them causes the seals to swell and fail. Check the reservoir cap or the brake hose for a printed specification. If the fluid is discoloured, has particles in it, or has been open for more than a few months, drain the whole system and refill it rather than topping up.
Step 5: Bed In New Pads and Stop the Squeal
Squeal after a pad change is not a fault. It happens because the transfer layer on the pad surface has not yet formed, and the bedding-in procedure is what creates it. It takes about fifteen minutes of riding at moderate speed.
- Ride to a safe, flat area at moderate speed away from traffic.
- Accelerate to roughly 25 to 30 km/h, then brake firmly to a complete stop without locking the wheel.
- Repeat this cycle 20 to 30 times, keeping the braking effort consistent.
- Allow the pads to cool before the next ride, since overheating during bedding damages the transfer layer.
- Avoid hard emergency braking during the bedding period, which glazes the pad surface.
Squeal that continues after a full bedding cycle usually means the pad compound is wrong for the conditions, the rotor is contaminated, or the hardware has a resonance problem. For the resonance case, a thin layer of copper or resin-based assembly compound on the pad backing plate is the standard fix.
When the Brake Is Beyond a Home Adjustment
Some faults are not adjustment problems, and continuing to adjust them wastes time and can make the brake less safe. The following conditions mean the component needs replacing rather than adjusting.
- A cracked, badly scored, or below-minimum-thickness rotor.
- Pads worn past the wear indicator, especially where the backing plate is exposed.
- A caliper piston that will not retract fully, which shows up as a lever that stays pulled in.
- A brake lever housing or hose that is split, kinked, or shows a bulge under pressure.
- A contaminated brake that still rubs after a proper alcohol clean.
For anyone supplying bikes and accessories at volume, keeping a small stock of the failure-prone items on the shelf pays for itself in avoided returns. Consumable brake parts, cable and hose sets, and common rotor sizes cover the overwhelming majority of workshop demand.
A Simple Diagnostic Sequence for a New Rider
If you only remember one sequence from this guide, use the following. It moves from the cheapest and most reversible checks to the most involved, so a rider with a minor fault never opens up a hydraulic system unnecessarily.
| Order | Check | Time needed | Fixes |
|---|---|---|---|
| 1 | Spin the wheel, look for rub | 1 minute | Rotor out of true or debris in the gap |
| 2 | Check pad wear against the indicator | 2 minutes | Worn pads |
| 3 | Clean rotor and pads with alcohol | 10 minutes | Contamination and light rub |
| 4 | True the rotor with a truing fork | 15 minutes | Bent rotor |
| 5 | Re-centre the caliper, re-torque evenly | 15 minutes | Pull to one side |
| 6 | Bleed the hydraulic system | 20 minutes | Spongy lever feel |
| 7 | Run the bedding-in cycle | 15 minutes | Squeal after a pad change |
Every step above assumes the pads and rotor are serviceable. If a rotor is cracked or a lever housing is split, stop at step one and replace the part instead. That distinction between an adjustment and a replacement matters most to anyone maintaining bikes for customers. Before the first ride after any brake work, squeeze the lever hard and hold it for 30 seconds. If the lever creeps toward the bar, the system is not sealed and the brake is not safe to use. Spin the wheel to confirm the gap is even, then make a low-speed test stop and check the rotor for heat.
About the Author
This guide was prepared by the AnttifySport sourcing team. AnttifySport works with European and North American outdoor brands, outfitters, and rental fleets on bike accessories and equipment procurement from audited Chinese mills. We focus on product specification, sample-protocol discipline, and pre-shipment inspection rather than commodity resale. For buyers sourcing bikes or accessory lines for resale, matching the replacement parts to the models on offer matters more than the unit price on the part itself. Contact our sourcing desk to request a bike accessory product sheet or to arrange a sample protocol.
Related Products from AnttifySport
Browse the AnttifySport catalog for the bike accessories covered in this guide. All products shown here are part of our wholesale lineup, with wholesale pricing, low MOQ, and OEM/ODM support available. Contact our team for quotes.