Published: Sep 2026 · Category: Outdoor How-To · Reading time: 9 min
Executive Summary
Saddle height is the single most consequential variable in bike fit. Get it wrong by 2 cm and you can lose 5–20% of your power output, increase knee-joint loading, and trigger the hip rocking that turns a 60-minute ride into a 60-minute fight. Get it right and the same body produces more watts, recovers faster, and stays on the bike longer.
The two methods every cyclist and bike-shop fitter should know are the heel method and the LeMond method. The heel method is the fastest on-bike check — sit on the saddle, place your heel on the pedal at bottom dead center, and adjust until the leg locks straight. The LeMond method is the precise off-bike measurement — multiply your barefoot inseam (cm) by 0.883 to get the saddle-height target measured from the center of the bottom bracket to the top of the saddle. Together they produce the same answer within 1–2 cm for roughly 90% of riders.
This guide covers both methods in step-by-step detail, plus the inseam-measurement protocol, the adjustment procedure for both quick-release and bolt-style seatposts, the dynamic sag check that confirms fit under load, and the four mistakes that send most riders back to the workstand. The figures and knee-angle ranges cited are drawn from peer-reviewed cycling biomechanics research and public industry fit references; verify specific torque specs and seatpost diameters against your bike’s manual or factory spec sheet before final adjustment.
Why Saddle Height Matters More Than Saddle Type
Most bike-fit conversations ask the wrong first question. The focus lands on saddle shape, padding density, or cutout design — all valid comfort variables — but the dominant factor for power output and injury prevention is the height of the saddle above the bottom bracket. The 2011 Bini, Hume, and Croft meta-analysis in Sports Medicine established that a 5% change in saddle height produces a 35% change in knee-joint kinematics and a 16% change in joint moments. Peveler’s work in the Journal of Strength and Conditioning Research found that raising the saddle just 2% above a rider’s preferred height measurably reduces gross efficiency and increases oxygen consumption at the same workload.
For the rider, that translates to three concrete risks when the height is off:
- Saddle too low → excess knee flexion at bottom dead center → patellofemoral compressive load increases → anterior knee pain, especially on climbs and high-cadence efforts.
- Saddle too high → near-full or full knee extension at bottom dead center → the pelvis has to rock side-to-side to reach the pedal → hip instability, IT-band irritation on the outside of the knee, lower-back fatigue, and a “dead spot” at the bottom of the pedal stroke.
- Saddle between the two extremes but still off → no acute pain, but gross efficiency drops 5–20% because the leg muscles operate outside their optimal length-tension range.
For the wholesale buyer, IBD owner, or brand sourcing for retail, this means the saddle-height range a bike ships with determines how wide the end-user pool is. A road bike with 50–80 mm of seatpost adjustment range covers most riders in the size’s intended height band; a frame with 30 mm of range limits the same size to a narrower demographic. Mid-market road, gravel, and hybrid bikes that ship with 350 mm seatposts typically offer more fit headroom than budget models with 250 mm posts.
The four variables that drive 80% of saddle-height decisions:
- Inseam length sets the baseline — longer inseams require more saddle height.
- Cycling discipline adjusts the target — road cycling runs higher saddles (more leg extension) than mountain biking (lower saddles for technical descents).
- Pedal and shoe combination shifts effective leg length — stack height of cleats and shoe soles adds or subtracts from the leg, changing where the foot lands on the pedal.
- Individual flexibility and joint mobility sets the upper limit — riders with knee or hip range-of-motion limits may need a slightly lower saddle than the formula suggests.
The two measurement methods below handle the first three variables; the sag check at the end handles the fourth.
Method 1: The Heel Method
The heel method is the simplest in-bike fit check. It requires no tools beyond the bike, the shoes the rider plans to use, and a wall to lean against or a stationary trainer to stabilize the bike. It produces a usable starting point in under five minutes.
How the heel method works
When the rider sits on the saddle with their heel placed on the pedal at the bottom of the pedal stroke (the 6 o’clock position), the saddle is at the correct starting height if the leg locks fully straight with the heel on the pedal. If the knee still bends with the heel on the pedal, the saddle is too low. If the rider has to rock the hips to reach the pedal or stretch to get the heel on, the saddle is too high.
The geometry is straightforward: when the foot is on the pedal in cycling shoes, the ball of the foot sits over the pedal axle. Placing the heel on the pedal instead moves the contact point roughly 5–10 cm forward of the ball of the foot — which is the reason the leg appears straighter. A leg that looks straight with the heel on the pedal will be at approximately 25–30° of knee flexion when the rider switches back to the ball-of-the-foot position. That range, according to the Bini 2011 review and a 2025 follow-up published in the Journal of Physical Education and Sport, is the optimum window for both power output and injury prevention.
Step-by-step heel method
- Warm up for 5–10 minutes. Cold muscles give a different leg length than warmed-up muscles. A short warm-up produces a more accurate result.
- Put on the cycling shoes you actually plan to ride in. Stack height varies by 5–20 mm across shoe models and cleat systems. A road cycling shoe with a 3-bolt cleat stacks differently than an MTB shoe with a 2-bolt SPD cleat. The shoe in the test should match the shoe on the ride.
- Set up the bike against a wall or on a trainer. A friend holding the bike upright is fine. A turbo trainer is better because it lets the rider pedal smoothly while checking hip position.
- Sit on the saddle in riding position. Hands on the hoods or bars, weight on the sit bones, no leaning.
- Place the heel on the pedal at the 6 o’clock position. Pedal backward slowly, one full revolution.
- Adjust saddle height by 1–2 cm increments until the leg locks fully straight with the heel on the pedal and without rocking the hips.
- Drop the saddle by 2–3 mm to account for fatigue — tired riders tend to drop their heels slightly in the bottom of the stroke. This is a small but real correction used by professional fitters.
- Re-check by pedaling forward at moderate cadence. The pedal stroke should feel smooth through the bottom; no “dead spot,” no reaching, no rocking.
Pros and cons of the heel method
The heel method is fast, requires no measurement, and uses the actual bike, shoes, and pedal system that will be ridden. It accounts for cleat stack height automatically. Its weakness is that it requires the rider to feel the difference between “locked straight” and “overreaching with hip rock” — a distinction that beginners often miss. It also requires a wall, a friend, or a trainer. For first-time fits, the LeMond method provides a precise starting number before the rider gets on the bike.
Method 2: The Lemond Method
The LeMond method is a formula-based starting point named after Tour de France champion Greg LeMond and popularized by his coach Cyrille Guimard in the 1980s. It produces a numerical saddle-height target from a single body measurement: the barefoot inseam.
The LeMond formula
The formula is saddle height (cm) = inseam (cm) × 0.883.
The 0.883 multiplier was derived by Guimard from observation of professional cyclists riding cage pedals with toe clips and leather-soled cycling shoes with nailed-on cleats. For modern clipless-pedal systems, LeMond himself recommended subtracting approximately 3 mm from the formula result to account for the thicker cleat and sole stack of modern cycling shoes. Many fit guides round this to 0.88.
The measurement is taken from the center of the bottom bracket (the axle the pedals turn around) along the seat tube to the top of the saddle. This differs from the Hamley/Thomas “109% rule,” which measures from the pedal axle at bottom dead center to the top of the saddle. The two methods produce similar final positions; they just describe them from different reference points.
Step-by-step LeMond method
- Measure barefoot inseam in centimeters. Stand barefoot with the back against a wall. Place a hardcover book (or a spirit level, carpenter’s square, or similar rigid straight edge) between the legs, pressed firmly upward to simulate saddle pressure — the same pressure a saddle applies, not the soft contact of a tape measure. Mark the wall at the top edge of the book, then measure from that mark straight down to the floor.
- Multiply by 0.883. A 78 cm inseam produces a target saddle height of 68.87 cm — round to 68.9 cm or 69 cm.
- Subtract 3 mm for clipless pedals if the rider will use modern road or MTB clipless cleats. A 78 cm inseam rider using clipless pedals lands at 68.6 cm.
- Set the saddle to that measurement from the center of the bottom bracket along the line of the seat tube to the top of the saddle.
- Validate on the bike using the heel method described above. The two should agree within 1–2 cm. If they differ by more than 2 cm, one of the measurements is off; recheck the inseam and the heel-method saddle height before accepting either.
When to use the LeMond method
The LeMond method is best used as the initial saddle-height setting before the rider first mounts the bike, especially for new bike delivery or first-time fit. It removes the guesswork from “where do I start?” and gives the heel method a precise target to validate against. It is also the only practical method when the rider is not present (mail-order bike sizing, fitting a customer remotely, building a sizing chart for a frame size).
The LeMond formula’s main weakness is that it does not account for crank length or shoe stack height in its basic form — riders on 170 mm cranks will sit slightly differently than riders on 175 mm cranks, and the formula assumes 172.5 mm as an average. Riders whose femur-to-tibia ratio is far from typical may also find the formula undershoots or overshoots their optimal position. The Hamley method (109% rule) and the dynamic knee-angle method (25–30°) account for some of these variables.
Method 3: How to Measure Inseam Correctly
Both the LeMond method and the Hamley 109% rule depend on a single body measurement: the barefoot inseam. The measurement is easy to do wrong, and a 1 cm error in the inseam produces a 0.88 cm error in the calculated saddle height — enough to land outside the 25–30° knee-angle comfort window.
Inseam measurement protocol
- Stand barefoot with the back against a wall. Feet shoulder-width apart, weight distributed evenly, looking straight ahead. No shoes; the heel stack of a shoe will inflate the measurement by 1–3 cm.
- Use a hardcover book or a spirit level as a saddle-pressure simulator. Place the book between the legs, spine up, and press it firmly upward into the crotch — firm enough that the rider can feel the pressure, comparable to sitting on a hard bike saddle.
- Mark the wall. Have a second person mark the wall at the top edge of the book, or use a pencil held against the wall while the book is in place.
- Measure from the mark to the floor. Use a metal tape measure, not a cloth one. Measure straight down — not at an angle — because a 5° angle adds 0.4% to a 90 cm reading, which is roughly 4 mm of error.
- Record in centimeters. Round to the nearest 0.5 cm. Do not round up or down based on the rider’s height; the measurement is the measurement.
Common inseam-measurement mistakes
- Wearing shoes — adds 1–3 cm. Always barefoot.
- Soft tape measure — stretches under tension. Use rigid metal.
- No book or rigid reference — the rider’s hand or a flexible tape cannot simulate saddle pressure accurately. The crotch contact height under saddle pressure is 1–2 cm higher than the soft contact height.
- Angled measurement — measuring from the wall mark at an angle rather than straight down to the floor.
- Stance too narrow — feet together rather than shoulder-width pulls the contact point down slightly.
A correctly measured inseam is the foundation of both the LeMond and the Hamley method. Re-measuring once before committing to a saddle height is normal practice for a first fit.
Step-by-Step Saddle Adjustment Procedure
Once the target saddle height is known — from the LeMond formula, the heel method, or both — the actual adjustment on the bike takes three to five minutes with the right tools.
Tools needed
- Allen key (hex wrench) sized to the seatpost bolt — typically 4 mm, 5 mm, or 6 mm. Some quick-release seatpost clamps use no tool at all.
- Torque wrench (optional but recommended) — seatpost bolts have torque specs between 4 Nm and 6 Nm typically; over-tightening strips the bolt, under-tightening lets the saddle slip.
- Tape measure or ruler — for measuring the seat-tube length when using the LeMond method.
- Marker or grease pencil — to mark the current saddle position on the seatpost for reference.
- A friend or a stationary trainer — to hold the bike steady while the rider sits on it.
- A plumb bob or a piece of string with a weight — optional, for verifying saddle fore-aft position (the knee-over-pedal-spindle check), which is outside the scope of this article but matters for full fit.
Adjustment procedure
- Mark the current saddle height on the seatpost with a grease pencil. Draw a horizontal line around the seatpost at the current insertion point in the frame. This gives a visual reference for how far the saddle has moved and prevents the saddle from being raised beyond the seatpost’s minimum-insertion mark.
- Loosen the seatpost bolt or quick-release clamp. For bolt-style clamps, use the correct Allen key and turn counter-clockwise until the saddle can slide freely. For quick-release, flip the lever open and unscrew the nut on the opposite side 2–3 turns.
- Slide the saddle to the target height. Use the tape measure (for the LeMond method) or pedal the bike slowly while sitting on it (for the heel method).
- Check the minimum-insertion mark. The seatpost has a line, mark, or stamp near the bottom that reads “MIN INSERT” or “MINIMUM INSERTION.” This mark must remain inside the frame at all times. A seatpost with insufficient insertion can fail catastrophically under load.
- Re-check saddle fore-aft and tilt before tightening. Saddle height changes can shift the fore-aft position relative to the bottom bracket if the seatpost is at an angle. Confirm the saddle nose is level or tilted 1–2° downward at the nose, and that the knee-over-pedal-spindle position is still correct.
- Tighten the seatpost bolt to the manufacturer’s torque spec. For most alloy seatposts the spec is 4–6 Nm; for carbon seatposts it is typically 4–5 Nm and requires a torque wrench to avoid cracking the clamp.
- Re-verify on the bike. Sit on the saddle, place the heel on the pedal at 6 o’clock, and confirm the leg locks straight. Pedal at moderate cadence for 30–60 seconds and confirm no hip rocking or “reaching” at the bottom of the stroke.
- Do the sag check (described below) to confirm the fit under load.
The dynamic sag check
The sag check is the final validation step that confirms the saddle-height choice under real riding load. Static saddle-height checks — measuring with the rider motionless on the bike, or using a formula — do not capture what happens when the rider is actually producing force through the pedals.
To perform a sag check:
- Set the bike on a trainer or have a friend hold it steady.
- Ride at a moderate cadence (80–90 rpm) for 2–3 minutes to warm up.
- Switch to a harder gear and pedal at 60–70 rpm with normal seated pressure.
- Observe the hip movement. If the saddle is too high, the rider’s pelvis will rock visibly side-to-side on each pedal stroke. If the saddle is at the right height, the pelvis stays level and the pedal stroke feels smooth through the bottom.
- Have the observer watch from behind the rider for 30 seconds and call out any hip rocking. A small amount of lateral movement (2–3 cm) is normal; visible pelvic tilt that lifts one sit bone off the saddle is not.
If hip rocking appears under load but not in the static heel check, the saddle is too high by 3–5 mm. Lower it by 3 mm and re-test.
Fine-tuning (2–3 mm increments)
Saddle-height changes produce knee-angle changes of roughly 1° per 1 mm of saddle movement. A 5 mm adjustment is roughly 5° of knee flexion change at bottom dead center — enough to move from the high end of the comfort window (30°) past the low end (25°). Most professional fitters adjust in 2–3 mm increments and re-test between each change. A small change (1–2 mm) often makes the difference between “close enough” and “fits like a custom frame.”
For the bike-shop context: when a customer reports knee pain after a fit, the first variable to re-check is saddle height, and the first adjustment to try is a 2–3 mm change in the direction that reduces their reported pain pattern (lower saddle for anterior knee pain on climbs, higher saddle for posterior knee pain or IT-band irritation).
Common Mistakes and How to Fix Them
Mistake 1: Saddle too low → knee pain on the front of the kneecap
A saddle that is too low produces excess knee flexion at bottom dead center. The patellofemoral joint compresses more than it should, the quadriceps work at a shortened muscle length, and the rider often reports pain at the front of the knee or under the kneecap, especially on climbs or during high-cadence work. Cyclists with naturally low saddles also report a “mashing” feeling — high perceived exertion at lower power output, because the leg muscles are working through a suboptimal range.
Fix: Raise the saddle in 2–3 mm increments until the heel-method check passes and the sag check shows no hip rocking. Re-test under load. Most anterior knee pain improves within 1–2 rides of a corrected saddle height.
Mistake 2: Saddle too high → hip rocking and posterior knee pain
A saddle that is too high produces near-full or full knee extension at bottom dead center. The leg cannot reach the pedal without either pointing the toe or rocking the pelvis side-to-side. The pelvis rock destabilizes the lower back, the IT band compresses against the outside of the knee (especially on the downstroke), and the rider often reports lower-back pain, lateral knee pain, or a “dead spot” at the bottom of the pedal stroke.
Fix: Lower the saddle in 2–3 mm increments until the heel-method check passes and the sag check shows level hips. Verify that the seatpost insertion mark is still inside the frame — lowering the saddle does not relax the minimum-insertion requirement.
Mistake 3: Wrong inseam measurement
A 1 cm error in the inseam produces roughly a 0.88 cm error in the calculated saddle height — enough to land outside the 25–30° comfort window. The most common inseam errors are wearing shoes during measurement, using a soft tape, measuring at an angle, and not using a rigid reference (book or spirit level) to simulate saddle pressure.
Fix: Re-measure the inseam using the protocol in the previous section. If the corrected inseam changes the calculated saddle height by more than 5 mm, re-test the fit on the bike.
Mistake 4: Wrong shoe or cleat for the test
The heel method and the LeMond method both assume a specific shoe-and-cleat combination. If the rider is fitted with road cycling shoes and then rides with flat pedals and trail runners (or vice versa), the saddle height is wrong for one of the two setups. A 5 mm difference in cleat stack height shifts effective leg length by 5 mm — enough to change the knee angle by 5° at bottom dead center.
Fix: Re-fit for each shoe-and-cleat combination the rider uses. Riders who switch between road clipless and flat pedals typically need a 3–5 mm saddle-height change between setups.
Mistake 5: Saddle-height correct, but fore-aft or tilt wrong
Saddle height is the biggest single variable, but it is not the only one. A saddle that is too far forward mimics the symptoms of a saddle that is too low (excess knee flexion). A saddle tilted nose-up loads the hands and lower back differently. A correct saddle height with an incorrect fore-aft position will still produce knee or back symptoms.
Fix: After setting saddle height, check knee-over-pedal-spindle fore-aft and saddle tilt (level or 1–2° nose-down). A plumb line dropped from the front of the patella (kneecap) should pass through the pedal axle when the pedals are at 3 and 9 o’clock. This is outside the scope of this article but is the natural next step in a full bike fit.
Heel Method vs LeMond Method vs Other Methods — Comparison
For most riders, the practical workflow is: (1) measure the inseam, (2) apply the LeMond formula to set an initial saddle height, (3) hop on the bike and validate with the heel method, (4) ride for 30–60 minutes and do a sag check, (5) fine-tune in 2–3 mm increments until the knee-angle window and the comfort window both pass.
Bottom Line for Riders
The two measurement methods every cyclist and bike-shop fitter should know are the heel method and the LeMond method. They are complementary, not competing: the LeMond formula gives a precise off-bike starting point from a single body measurement, and the heel method confirms it on the bike using the actual shoes and pedals that will be ridden.
The numbers worth remembering:
- 5% saddle-height change → 35% change in knee-joint kinematics (Bini 2011).
- 25–30° knee flexion at bottom dead center → optimum window for power and injury prevention.
- 0.883 × inseam (cm) → LeMond saddle height (BB to saddle top).
- 1.09 × inseam (cm) → Hamley saddle height (pedal axle to saddle top).
- 2–3 mm → the practical increment for fine-tuning saddle height.
- 1 mm → roughly 1° of knee-angle change at bottom dead center.
A saddle-height change of 5 mm is meaningful; a change of 2 mm often makes the difference between “close enough” and “fits like a custom frame.” Most riders never re-measure after the initial fit, which is the source of a large fraction of the knee pain, hip rocking, and “I just can’t get comfortable on this bike” complaints that show up in bike-shop service bays.
For wholesale buyers and brand owners: a bike that ships with a 350 mm seatpost and a clear fit range covers more body types than a bike with a 250 mm post and a narrower range. The LeMond formula’s inseam-to-saddle-height ratio is a useful sanity check when evaluating frame geometry for a target demographic — a frame designed for a 75–82 cm inseam range needs enough seatpost travel to cover that range.
About the Author
The AnttifySport Cycling Fit Team supports bike-shop owners, IBD service technicians, cycling coaches, and brand sourcing teams on the practical side of bike fit — the geometry, the measurement protocols, and the adjustment procedures that translate biomechanics research into what happens at the workstand. We’ve worked with cycling brands, IBDs, and wholesale buyers across North America, Europe, and Australia since 2018, with a focus on the fit questions that show up at first delivery and at first service.
Have a fit question, or want to talk through a frame geometry spec for a new product line? Reach out at https://www.anttifysport.com/contact/.
Further reading & sources
- Bini, R., Hume, P. A., & Croft, J. L. (2011). Effects of bicycle saddle height on knee injury risk and cycling performance. Sports Medicine, 41(6), 463–476. — foundational meta-analysis establishing that 5% saddle-height change produces 35% knee-kinematic change.
- Hamley, E. J., & Thomas, V. (1967). Physiological and postural factors in the calibration of the bicycle ergometer. Journal of Physiology, 191(2), 55P–56P. — original source of the 109% inseam rule.
- Peveler, W. W. (2008). Effects of saddle height on economy in cycling. Journal of Strength and Conditioning Research, 22(5), 1645–1649. — research showing that 2% saddle-height change measurably alters gross efficiency and oxygen consumption.
- Peveler, W. W., & Green, J. M. (2011). Effects of saddle height on economy and anaerobic power in well-trained cyclists. Journal of Strength and Conditioning Research, 25(3), 629–633. — follow-up confirming the efficiency effect at the anaerobic threshold.
- BikeRadar / Our Media, How to set saddle height on a bike to improve comfort and performance — practitioner-focused guide to the heel method, with reference images and the 30–40° knee-bend guidance at the 5 o’clock pedal position.
- FitKit Systems, Saddle Height: Why Formulas Only Get You Partway There — detailed comparison of the LeMond, Hamley, and Holmes methods, with the practical caveat that all three methods agree within 1–2 cm for roughly 90% of riders.
- Road Bike Rider, Why I Don’t Use the LeMond Formula for Saddle Height — practitioner perspective on the formula’s limitations around crank length and shoe-stack differences, with a useful real-world commentary on the 3 mm clipless-cleat correction.
- Leavitt, T. G., & Vincent, H. K. (2022). Simple Seat Height Adjustment in Bike Fitting Can Reduce Injury Risk. University of Florida Department of PM&R — clinical perspective on saddle-height adjustment as an injury-prevention intervention.
- BikeRadar / Our Media, IT band and hip pain from cycling: what you need to know — clinical explanation of how saddle-height errors contribute to IT-band compression and lateral knee pain.
This article is for informational purposes only and does not constitute medical, biomechanical, or professional bike-fit advice. Saddle-height formulas, knee-angle ranges, and torque specifications cited here reflect publicly available peer-reviewed research and general cycling-fit conventions as of September 2026; specific fit decisions should be validated against the rider’s individual biomechanics, the bike manufacturer’s current documentation, and (where pain or injury is involved) a licensed physical therapist or certified bike-fit professional. The author and AnttifySport make no representations or warranties regarding the fitness of any specific saddle height for any rider’s particular use case. Torque specs, seatpost insertion depths, and frame geometry figures referenced are typical values derived from public sources and are not guaranteed for any specific bike, seatpost, or frame model.
Related Products from AnttifySport
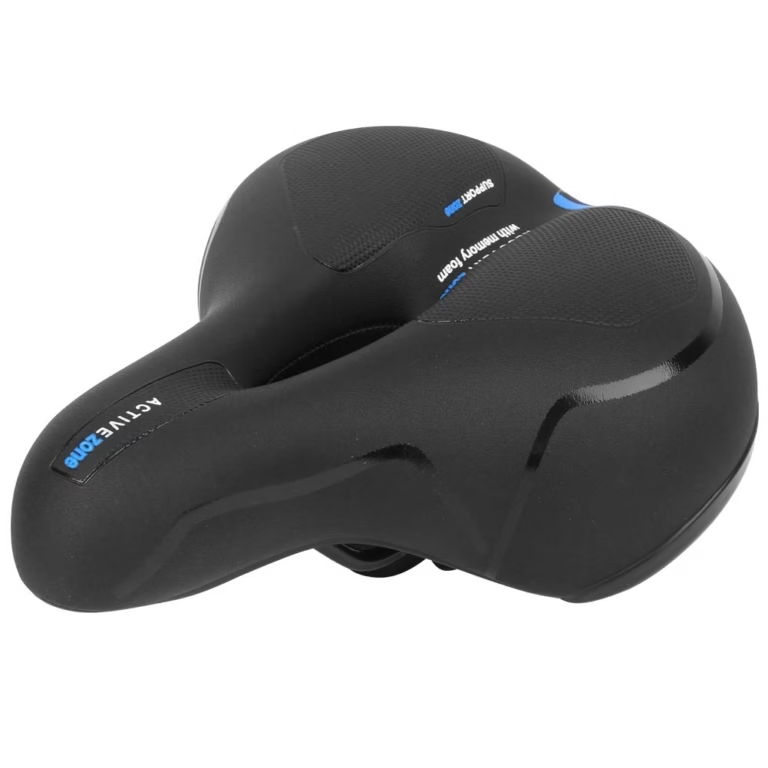
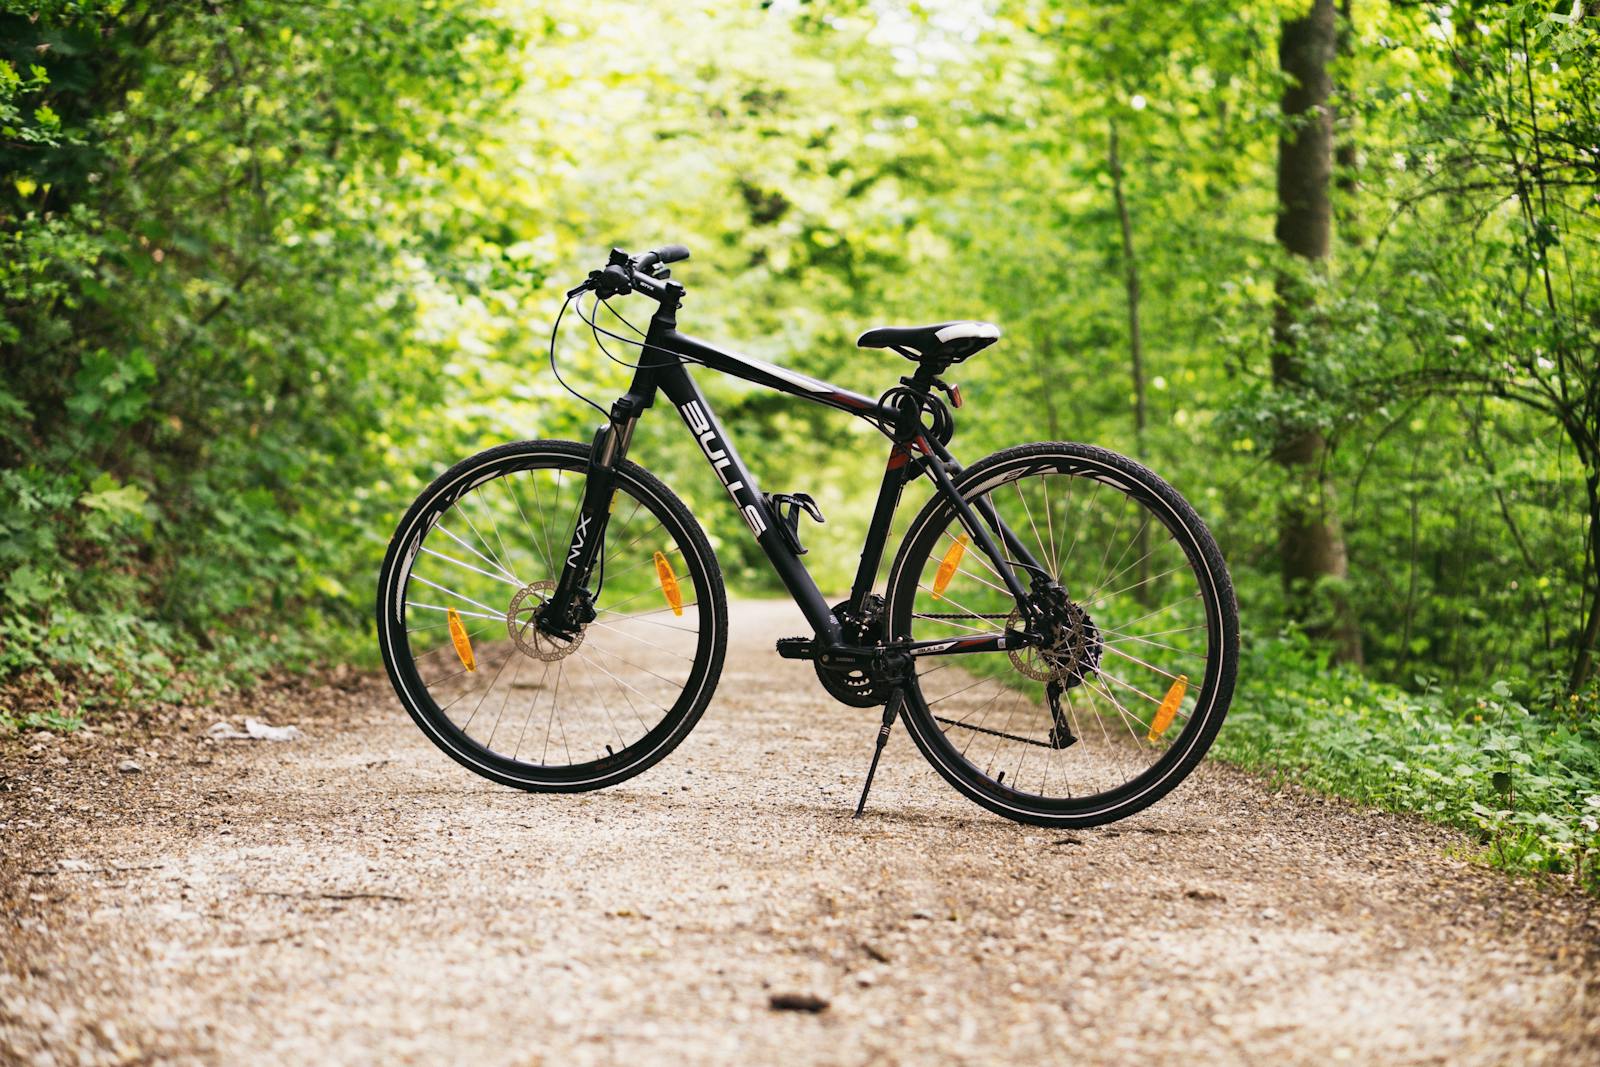
Browse the AnttifySport catalog for outdoor gear covered in this article. All products shown here are part of our wholesale lineup — wholesale pricing, low MOQ, and OEM/ODM support available. Contact our team for quotes.