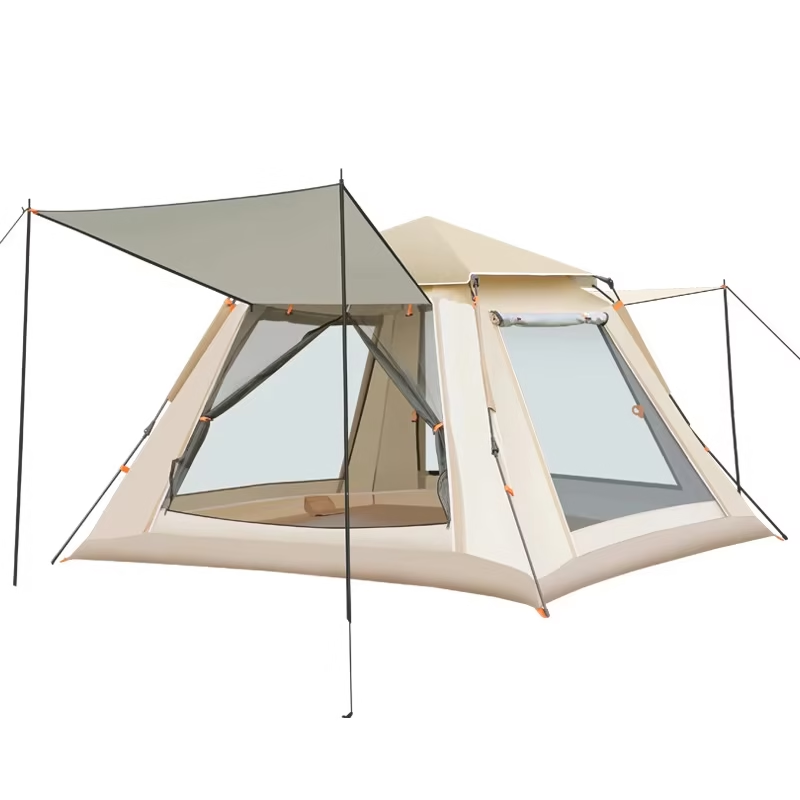
How to Pitch a Tent on Uneven or Rocky Ground
Published: 2026-11-09 | Category: Outdoor How-to | Reading time: 11 min

Executive Summary
Most tent pitches go wrong before the tent ever comes out of the bag. The ground is selected in a hurry, the site is judged by whether it looks flat enough, and the tent is unpacked onto whatever is there. On even ground this works. On uneven or rocky ground it produces two specific failures that account for almost every complaint about tents that “damp out” or “blew away”: water pooling in the floor where a low point sits under the tent, and wind lifting one corner because the frame is not sitting level.
This guide is a method, in order, for pitching on ground that is not flat. It covers how to read a site for its worst point before committing to it, why a footprint matters more on rough ground than on flat ground, the peg angles that hold a tent on sloped or hard ground, how to set guyline tension so it stabilises rather than tightens the frame, and how to identify the four ground conditions that should make you move site instead of adapting to them. The method applies to any freestanding tent and works with the pegs and guylines that come in the bag.
Read the Site Before You Unpack
The first step is to walk the ground rather than look at it. A site that looks level from standing height is often not, and the difference between “looks level” and “is level” is the whole problem. Walk the area you intend to use with your feet, and identify three things: the highest point within the footprint, the lowest point within the footprint, and the direction the slope runs between them.
The rule that follows is simple and absolute: the lowest point must not be under the tent. Not under the middle of it, not under a corner — anywhere under the footprint at all. If the low point is under the tent, no amount of pegging will fix it, because the floor is a bathtub and the tent is sitting in it. The options are to shift the tent upslope so the low point falls outside the footprint, or to pitch somewhere else.
The second thing to establish is where the drainage runs. On a slope, water does not pool, it runs — and it runs toward the low point, which means it arrives under the tent even when the low point is not directly beneath it. Look for channels, dips and the dark wet-looking patches on rock that indicate where water has run before. Pitching across a drainage line means the water arrives at your tent whether or not the ground directly under it is the lowest point.
| Ground condition | What it will cause | Action |
|---|---|---|
| A hollow or dish under the footprint | Pooling in the floor, condensation, a wet sleeping bag by morning | Move site. Do not pitch into a hollow |
| A drainage channel crossing the pitch | Water arriving under the tent during rain | Move site or pitch parallel above the channel |
| Large embedded rock within the footprint | Pressure point through the floor, ground sheet abrasion | Shift the tent so the rock sits outside, or sleep beside it |
| Slope over roughly 15 degrees | Frame settles downhill overnight, pegs pull out | Camp on the contour, or use a broad and level area |
| Peat, moss or wet soil | Pegs will not hold; the ground gives under load | Move site, or use tree or rock anchoring instead |
Two conditions in that table are worth expanding on because they are the ones people argue about. Peat and moss can look ideal — flat, soft, sheltered, away from rock — and they are the worst possible ground for pegs. A peg pushed into saturated organic soil has nothing to grip, and it will move all night. If you must camp there, anchor the tent to a tree or a boulder instead of relying on pegs, and accept that the wind rating no longer applies.
And a large rock inside the footprint is more than a discomfort. A ground sheet under tension across a rock edge concentrates the load onto a few square centimetres, and over a night that becomes a hole in the floor and a wet bag. If a rock cannot be moved, the tent moves. Shift the pitch until the rock is clear of the footprint, which is usually easier than it sounds because most tents have far more usable space than the marked footprint suggests.
Why the Footprint Matters More on Rough Ground
A footprint is a plain sheet of coated fabric laid under the tent, and on flat ground it is close to optional — it protects the floor from abrasion and adds a layer against condensation, but it is rarely the difference between a good night and a bad one. On rough ground it becomes structural. Three functions matter.
First, it protects the tent floor from the rocks. The floor of a tent is the weakest point in the whole product by design — it is a thin coated fabric with no reinforcement, because the design assumes it will sit on soil. The footprint takes that abrasion instead. Without it, a single sharp edge under the floor can cut through in a night.
Second, it stops water wicking up from the ground. A footprint set slightly proud of the tent’s edge creates a barrier between wet soil and the floor fabric, and it keeps the ground-insulating layer of the sleeping mat from sitting directly in the damp. On rocky ground this matters more than the geometry suggests, because the ground under a tent cools faster than open ground and the dew point rises earlier.
Third, and most importantly on uneven ground, it defines the base the tent is tensioned against. A tent pitched on rocks has no continuous contact with the ground; the frame bridges gaps and the floor sags into them. A footprint gives you a continuous, flat-ish membrane to work against, so the peg points and the frame see the same surface.
The fitting detail that matters is the corners. On uneven ground the footprint must be pulled out square and pinned flat at each corner before the tent goes up, because a footprint that has shrunk diagonally will drag the floor corners inward as the tent is tensioned. If the corners do not reach past the tent’s peg points, the tent will pull the footprint tighter than it can go and the floor will tent up in the middle — which is pooling, in a different form.
Pegging on Sloped and Hard Ground
Most tents ship with pegs suited to soft soil, and most campsites with uneven ground are not soft soil. A standard hook peg driven into hard, stony ground will either bend, or enter at a shallow angle and pull out at the first firm gust. The variable that determines whether a peg holds is the angle between the peg and the pull direction, and the standard advice is to drive pegs at a slight angle away from the tent, roughly ten to fifteen degrees off perpendicular, with the hook facing the load.
That rule has a specific purpose. A peg driven straight down is held by friction along its shaft, and the friction is at its maximum when the pull is perpendicular. Tilting the peg so its head leans away from the tent means the load pulls against the peg at an angle, and the hook digs into the soil rather than sliding along it. On soft ground this improves the hold modestly. On hard ground, where friction is already high but the peg cannot penetrate deeply, the improvement comes from a different mechanism entirely — the peg acts as a hook rather than a pin.
| Ground type | Best peg approach | Why |
|---|---|---|
| Soft soil or sand | Standard hook peg, angled 10-15 degrees away from the tent | Friction holds; the angle improves it and widens the load area |
| Hard packed earth | Longer pegs, driven deeper, angled away from the tent | Length is the only substitute for the penetration soft soil provides |
| Rocky ground | Use a rock as the anchor point and a guyline to it | Pegs will not penetrate; a boulder does the job better |
| Peat or moss | Anchor to a tree or a rock; expect pegs to fail | Saturated organic soil has no holding power |
| Snow | Wider angle, longer pegs, more guylines | Consolidation happens over hours; plan for the worst case |
On genuinely rocky ground, the honest answer is that pegs are the wrong tool. A boulder with a strap around it is a better anchor than any peg, and most tents and most campsites have enough material around them to find one. A guyline looped around a rock and tensioned back to the tent does exactly what a peg would, and it will not pull out.
On sloped ground there is one more technique worth knowing: staking on the downhill side at a longer angle so the peg’s pull line points more vertically into the soil. A peg driven into a slope, perpendicular to the surface, is loaded along its own axis by the weight of the tent sliding downhill, and it will creep. Driving it at a shallower angle into the slope gives the load a path into the soil rather than along it.
Guyline Tension: Stabilise, Do Not Tighten
Guyline tension is the part most often overdone, and over-tensioning causes real damage to a tent. A guylined tent is a structure in tension, and the poles are designed to flex within a specific range. Pull a guyline hard enough to flatten that range and you are loading the poles in compression, which is what causes pole deformation, crushed pole sleeves and the snapping sound that precedes a broken pole.
The correct target is the opposite of what most people assume. A guyline should be tensioned until it is taut and no more. Before the wind arrives, a well-pitched tent’s guylines should not be pulling the tent visibly taut. If you can push the tent wall inward and it does not spring back, the guylines are too tight. If the guyline is slack enough to move when you shake it, it is too loose. If it hums when you pluck it, it is right.
On uneven ground, tensioning has to be adjusted per point rather than applied evenly, because the frame is not sitting level. When the ground drops on one side, that corner sits lower and the guyline there does less work unless you shorten it. When the ground rises, that corner sits higher and its guyline carries more of the load than the one opposite. The adjustment is to work around the tent in order, checking each point, rather than setting all four to the same tension in turn.
Two further rules apply specifically on rough ground. First, add guylines rather than tightening them — on a site with an uneven profile, an extra guyline point to a tree or boulder is worth more than extra tension on an existing one, because it adds a second direction of restraint instead of loading a single line harder. Second, do not attach a guyline to a point of the tent that is not a reinforced guyline point, and never to a pole. A line clipped to the flysheet away from a guyline point tears the fabric, and a line clipped to a pole bends the pole.
The Method, Step by Step
- Walk the pitch area. Find the high point, the low point, the slope direction and any drainage line. Reject the site if the low point or a channel falls inside the footprint.
- Clear the footprint of stones. Move what can be moved by hand. Do this before the tent is out of the bag, not after.
- Lay the footprint square and pin it flat. Corners stretched out and pegged before the tent goes up, with a couple of centimetres of slack at each corner so the fabric is not stretched diagonally.
- Pitch the tent on top of the footprint. Orient the ridge so the long axis runs along the contour of the slope rather than up it, if the ground allows.
- Stake the corners first, angled away from the tent. Corners first, then the door or vestibule, then the side points. On hard ground, use longer pegs; on rock, use a boulder and a guyline.
- Adjust the level. Check the frame. If one corner is visibly lower than the others, shorten the guyline or peg at that corner rather than pushing the tent flat, which loads the pole sleeve.
- Set guyline tension. Taut, not tight. Work around the tent point by point and adjust for the uneven profile.
- Do a full perimeter check. Walk the tent and look for gaps under the floor edge, lifted corners, or a floor that dips. Any of these is a problem to fix now, in daylight, rather than at 2am.
What to Check at Night
On an uneven pitch the tent changes overnight as the ground takes the load and the frame settles. The changes are small and mostly harmless, but two of them are worth a check before you settle in for the night. If the frame settles, a corner peg may lose tension and the corner may lift slightly; a light knock on the peg, or a re-tension, fixes it in a minute. And if the floor has crept and is now touching the ground, that is the beginning of a damp patch; a stick under the floor edge restores the airflow.
The other habit worth keeping is to check the tent from outside after the wind gets up. A tent that is starting to move at one corner in a moderate wind will move further in a strong one, and the tension that causes the movement is easier to fix while you are awake and dressed than at four in the morning in rain. This matters more on rocky ground than on flat ground, because a peg in hard soil that has begun to lift will often lift completely rather than gradually.
Questions to Ask a Supplier
The following is written to be sent with a quotation request. Each question has a reason, and each one produces information that either supports the product or tells you it is not one you can support for this customer base.
- Whether a footprint is included, and whether it is sized to the floor or cut slightly small
- Whether the tent body is supplied with a groundsheet of its own, and its material and coating
- Number of pegs supplied, their length, and their material and gauge
- Number of guyline points, whether guylines are included, and the reflection or breakaway design of each
- Whether the pole feet and pole sleeves are reinforced for pitching on hard or stony ground
- Whether the door can be pitched open as a canopy, and whether a second pole is included for that
- Whether there is an optional wider footprint for soft or wet ground, and its cost
- Stated wind resistance, the standard it is tested to, and whether the test used a pitched or guyed configuration
- Whether replacement pegs and guylines are available separately, for retail sale as accessories
Where Tent Pitching Goes Wrong
The most common failure is treating uneven ground as something to be camped on rather than something to be assessed. The camper picks the flattest-looking patch within reach of where they wanted to be, rather than walking thirty metres to find a genuinely level site. On a hillside, the difference between the patch that looks flat and the patch that is flat is often the difference between a dry night and a wet one.
The second is skipping the footprint because it seems like an extra step. On rough ground it is not an extra step, it is the step that makes the rest work, and it takes less time than the argument people have about whether it is necessary.
The third is over-tensioning, usually because a tent that moves feels wrong and the instinct is to pull everything tight. The result is a stiff tent with bent poles and a noisier night, which is the opposite of the intention. A tent that is slightly loose and correctly pegged is more stable in wind than a tent that is pulled rigid, because a rigid frame transfers the whole load into the pegs instead of flexing and absorbing it.
The fourth is pitching on ground with a rock inside the footprint because moving the tent seemed like more trouble than the rock was. It is the one adjustment that reliably changes the night, and it is the one most often skipped.
About the Author
This guide is written by the AnttifySport sourcing team, who work directly with manufacturers of outdoor equipment for the wholesale market. The recommendations reflect what has held up in actual order cycles rather than general policy language.
Further Reading on Tent Setup
Related guides on AnttifySport covering the setup and materials topics that sit alongside pitching on difficult ground.
- Tent Setup for First-Time Campers — the straightforward version, for level ground and a first pitch.
- Tent Materials — 20D vs 40D Nylon vs Polyester — how the fabric spec affects durability on hard, wet ground.
- How to Store Ski Equipment Between Seasons — the same dry-storage discipline applied to a camp kit.